Introduction
When you are out on an expedition camping, there is nothing better than a full English breakfast to set you up for the day. It’s loaded with carbs to power you up the hills and tastes awesome…but..
- It takes ages to cook
- It’s difficult to transport
- It’s a nightmare to clean up(especially if you are wild camping)
The solution – make your own boil in the bag English breakfast. It’s cheaper and tastier than the premade ones, and you can add all the ingredients that you want!
- The one limitation of these things is that they only last for a few days. You will be okay for 2-3 days after cooking, but they won’t last until your next trip!
What you’ll need
Food
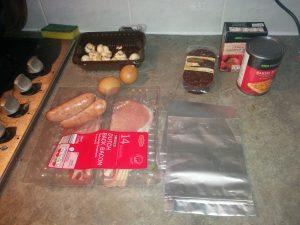
- Bacon
- Sausages(thin is better)
- Black pudding (makes a big difference!)
- Mushrooms
- Baked beans
- Eggs
- Chopped tomatoes
I normally buy enough food to make 2 or 3 portions.
Equipment
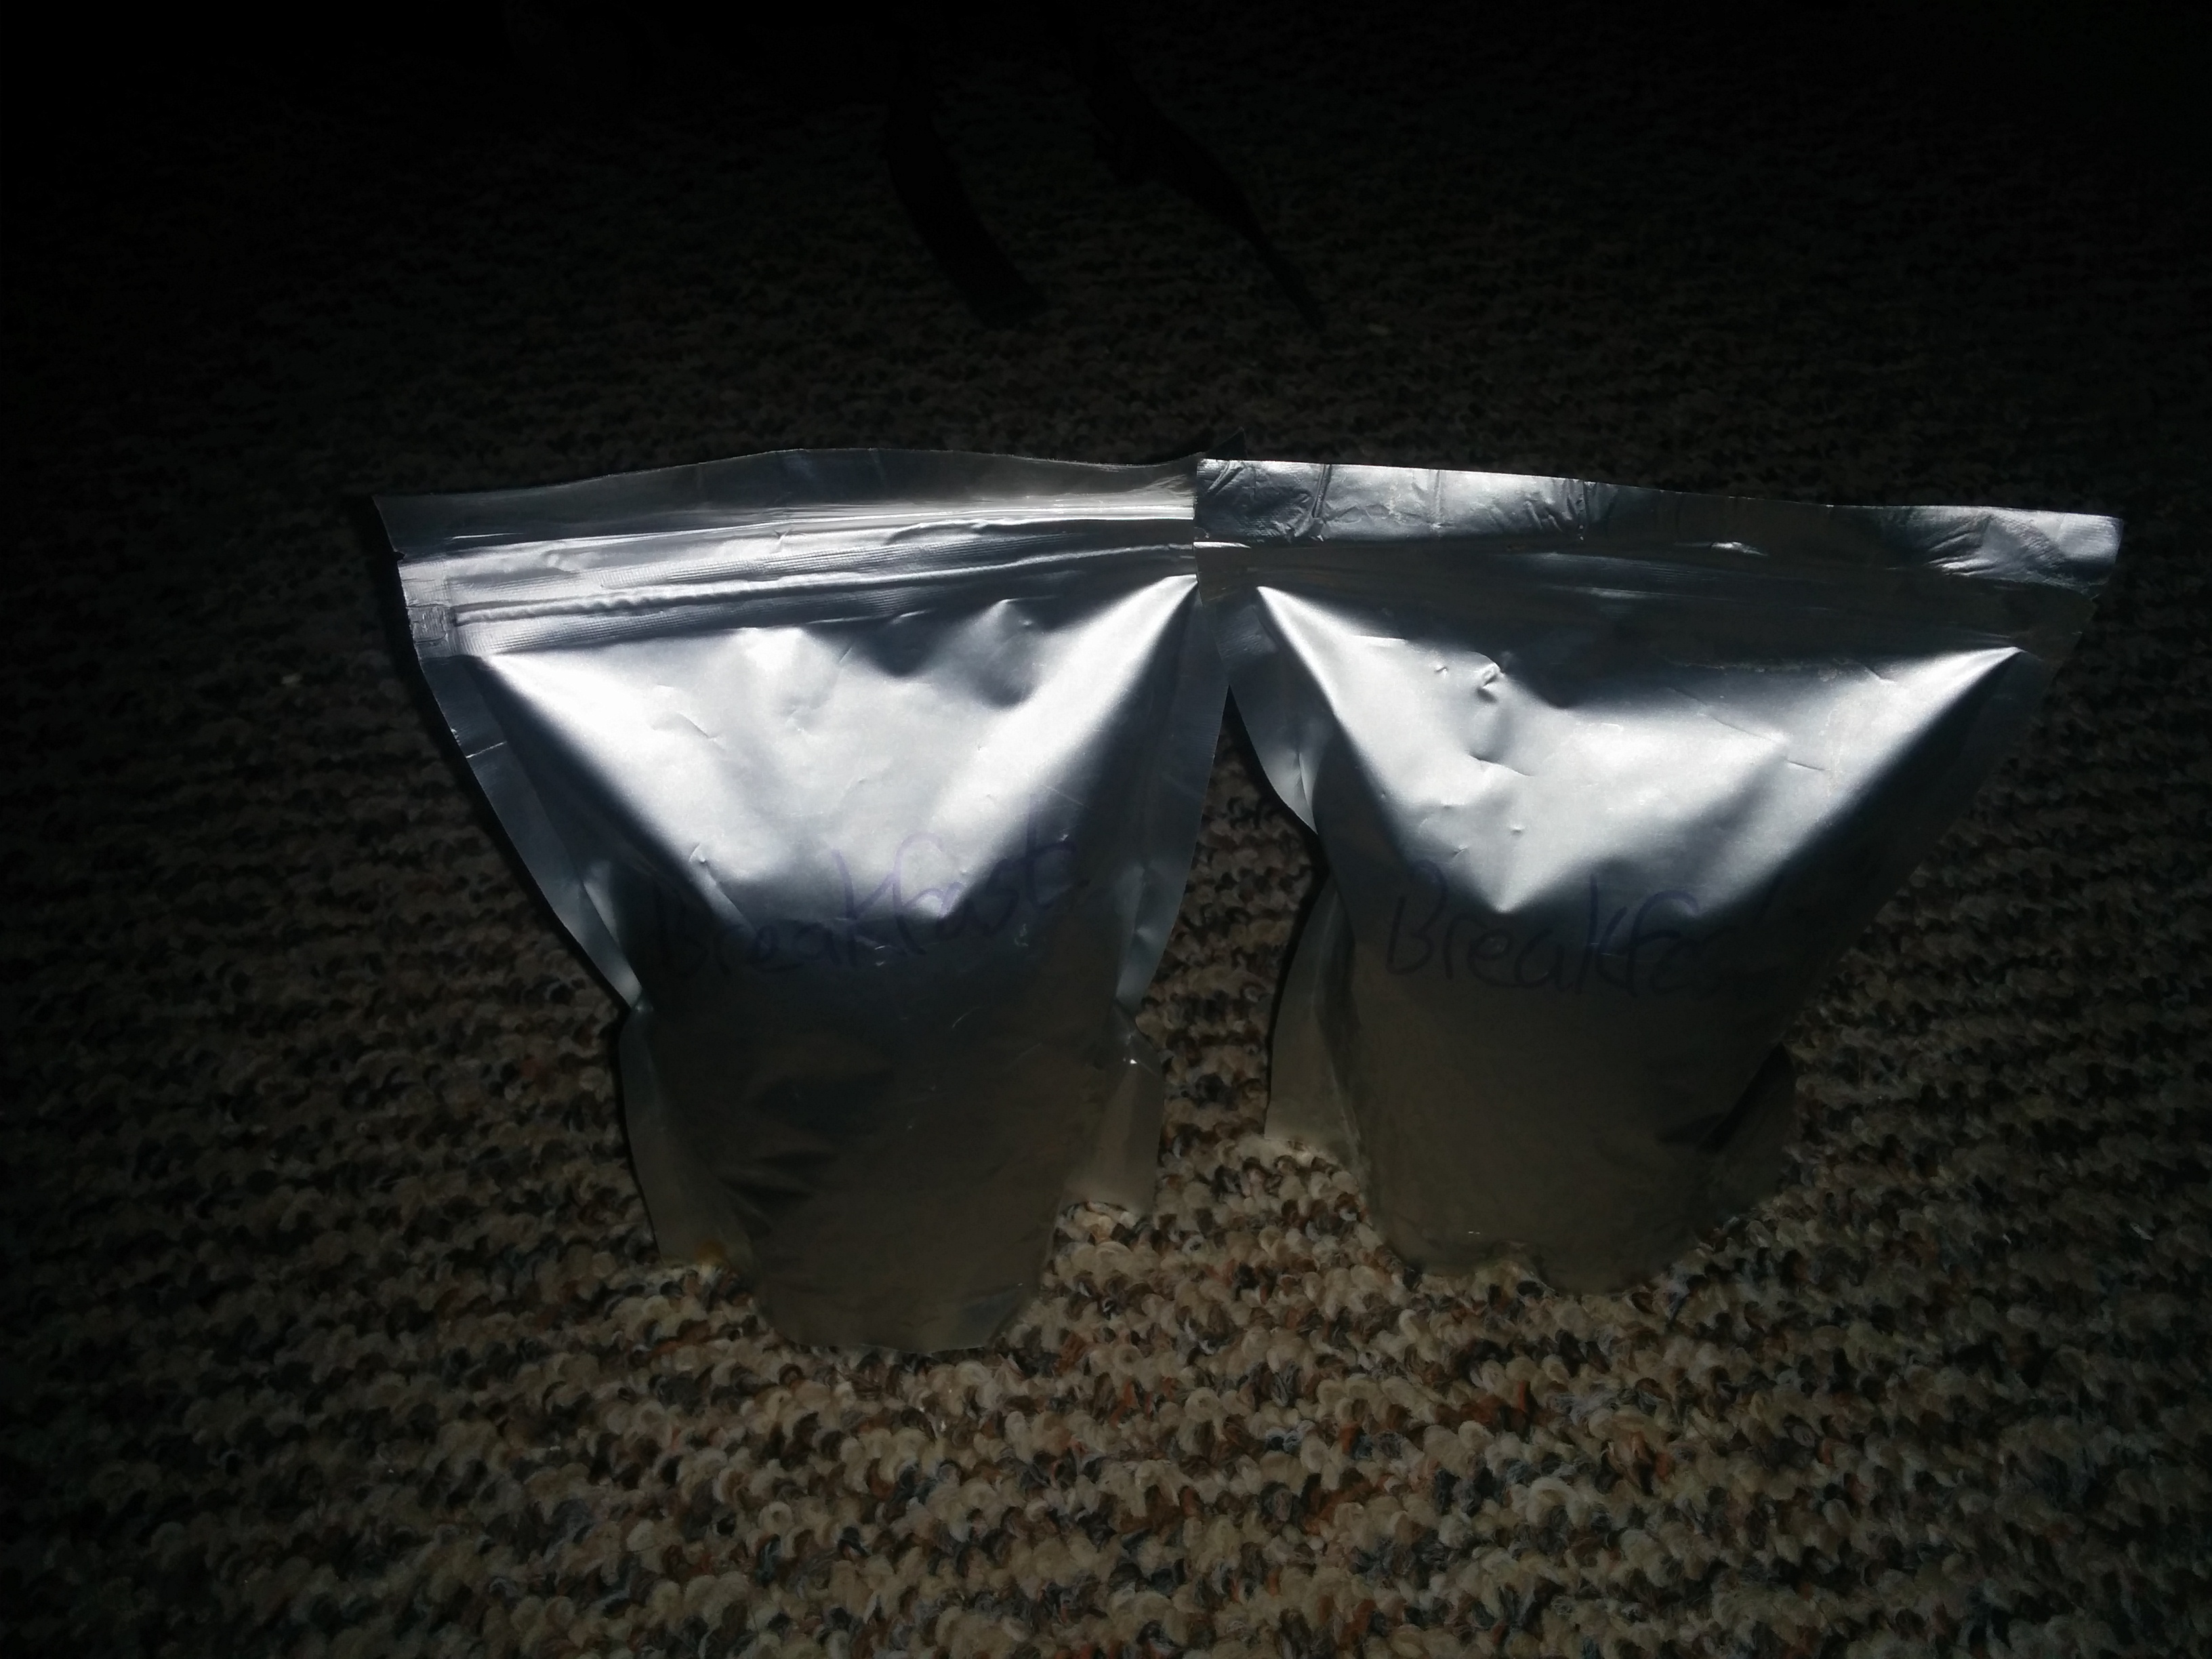
Mylar Foil Bags – Food grade – Amazon link
How to make it
Step 1 -Cook stuff
- First of all chop up all you meat and pop it in a big frying pan or wok.
- Cook your meat for about 5 mins in the pan.
- Then add the mushrooms.
- Next add the scramble egg, either cooking separately or just adding to the pan.
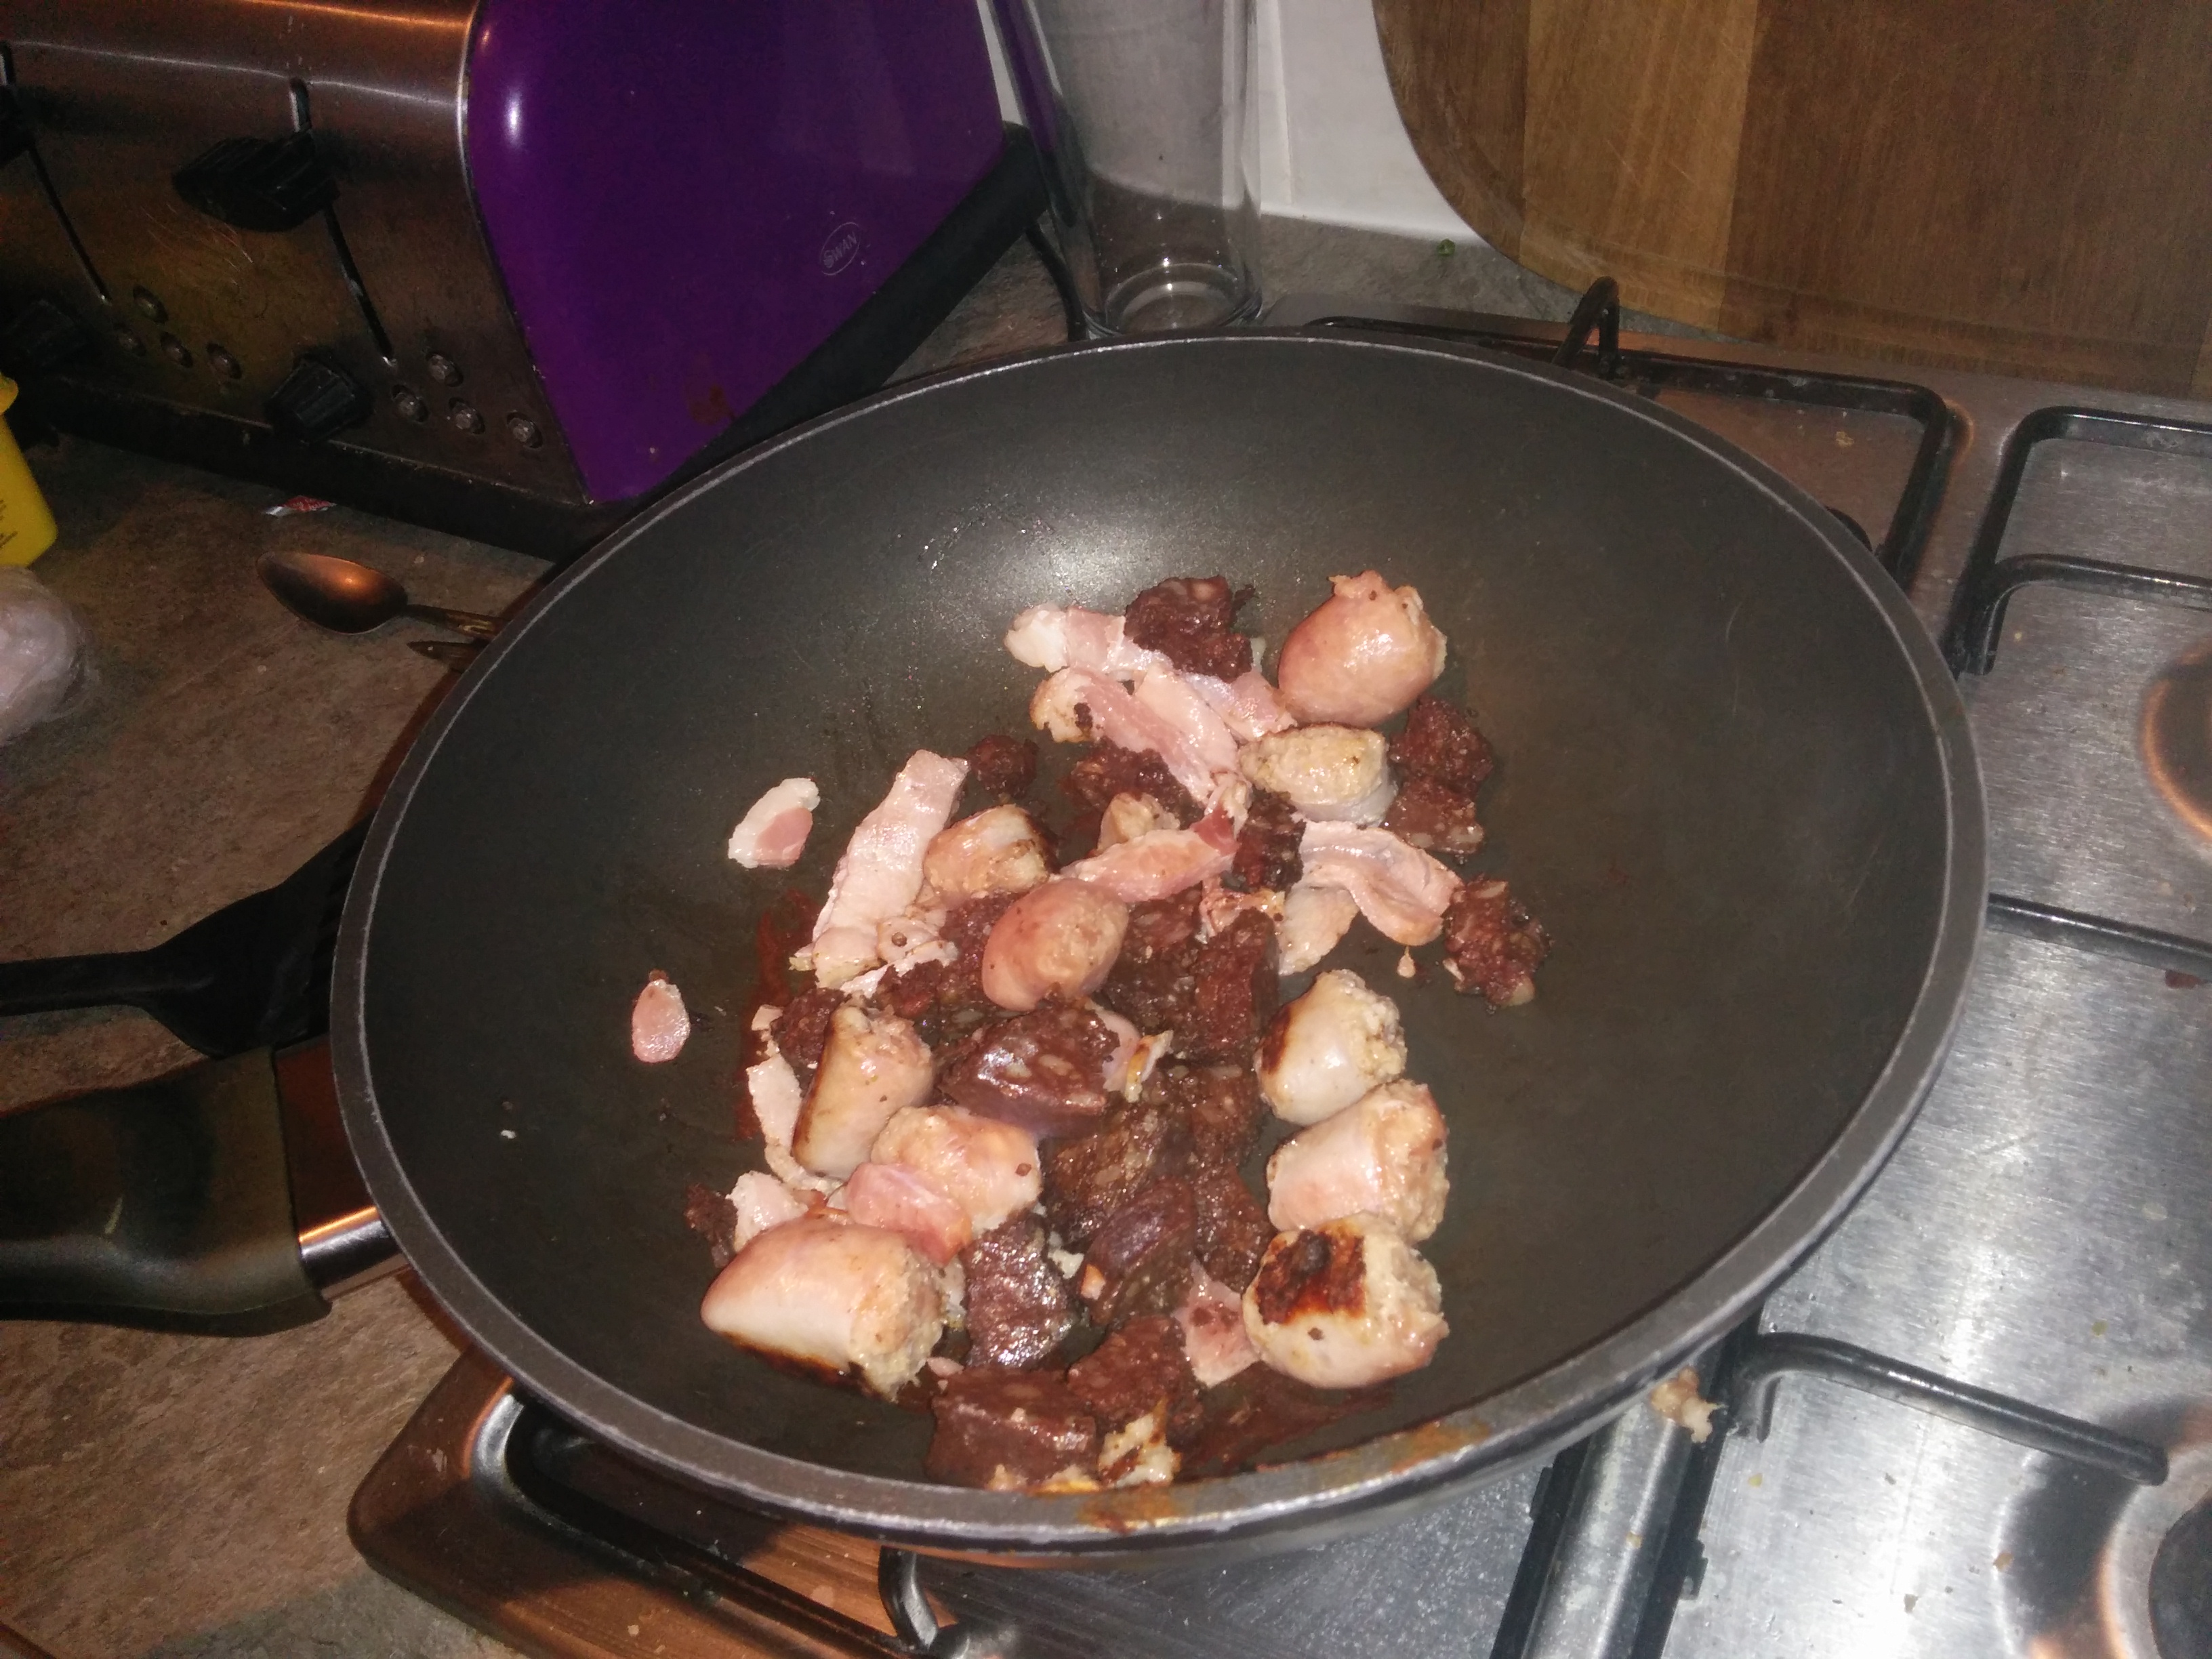
Tip – Make sure you chop up your sausages and bacon into bite size chunks, they will reheat quicker and be easier to eat.
Top Tip 2
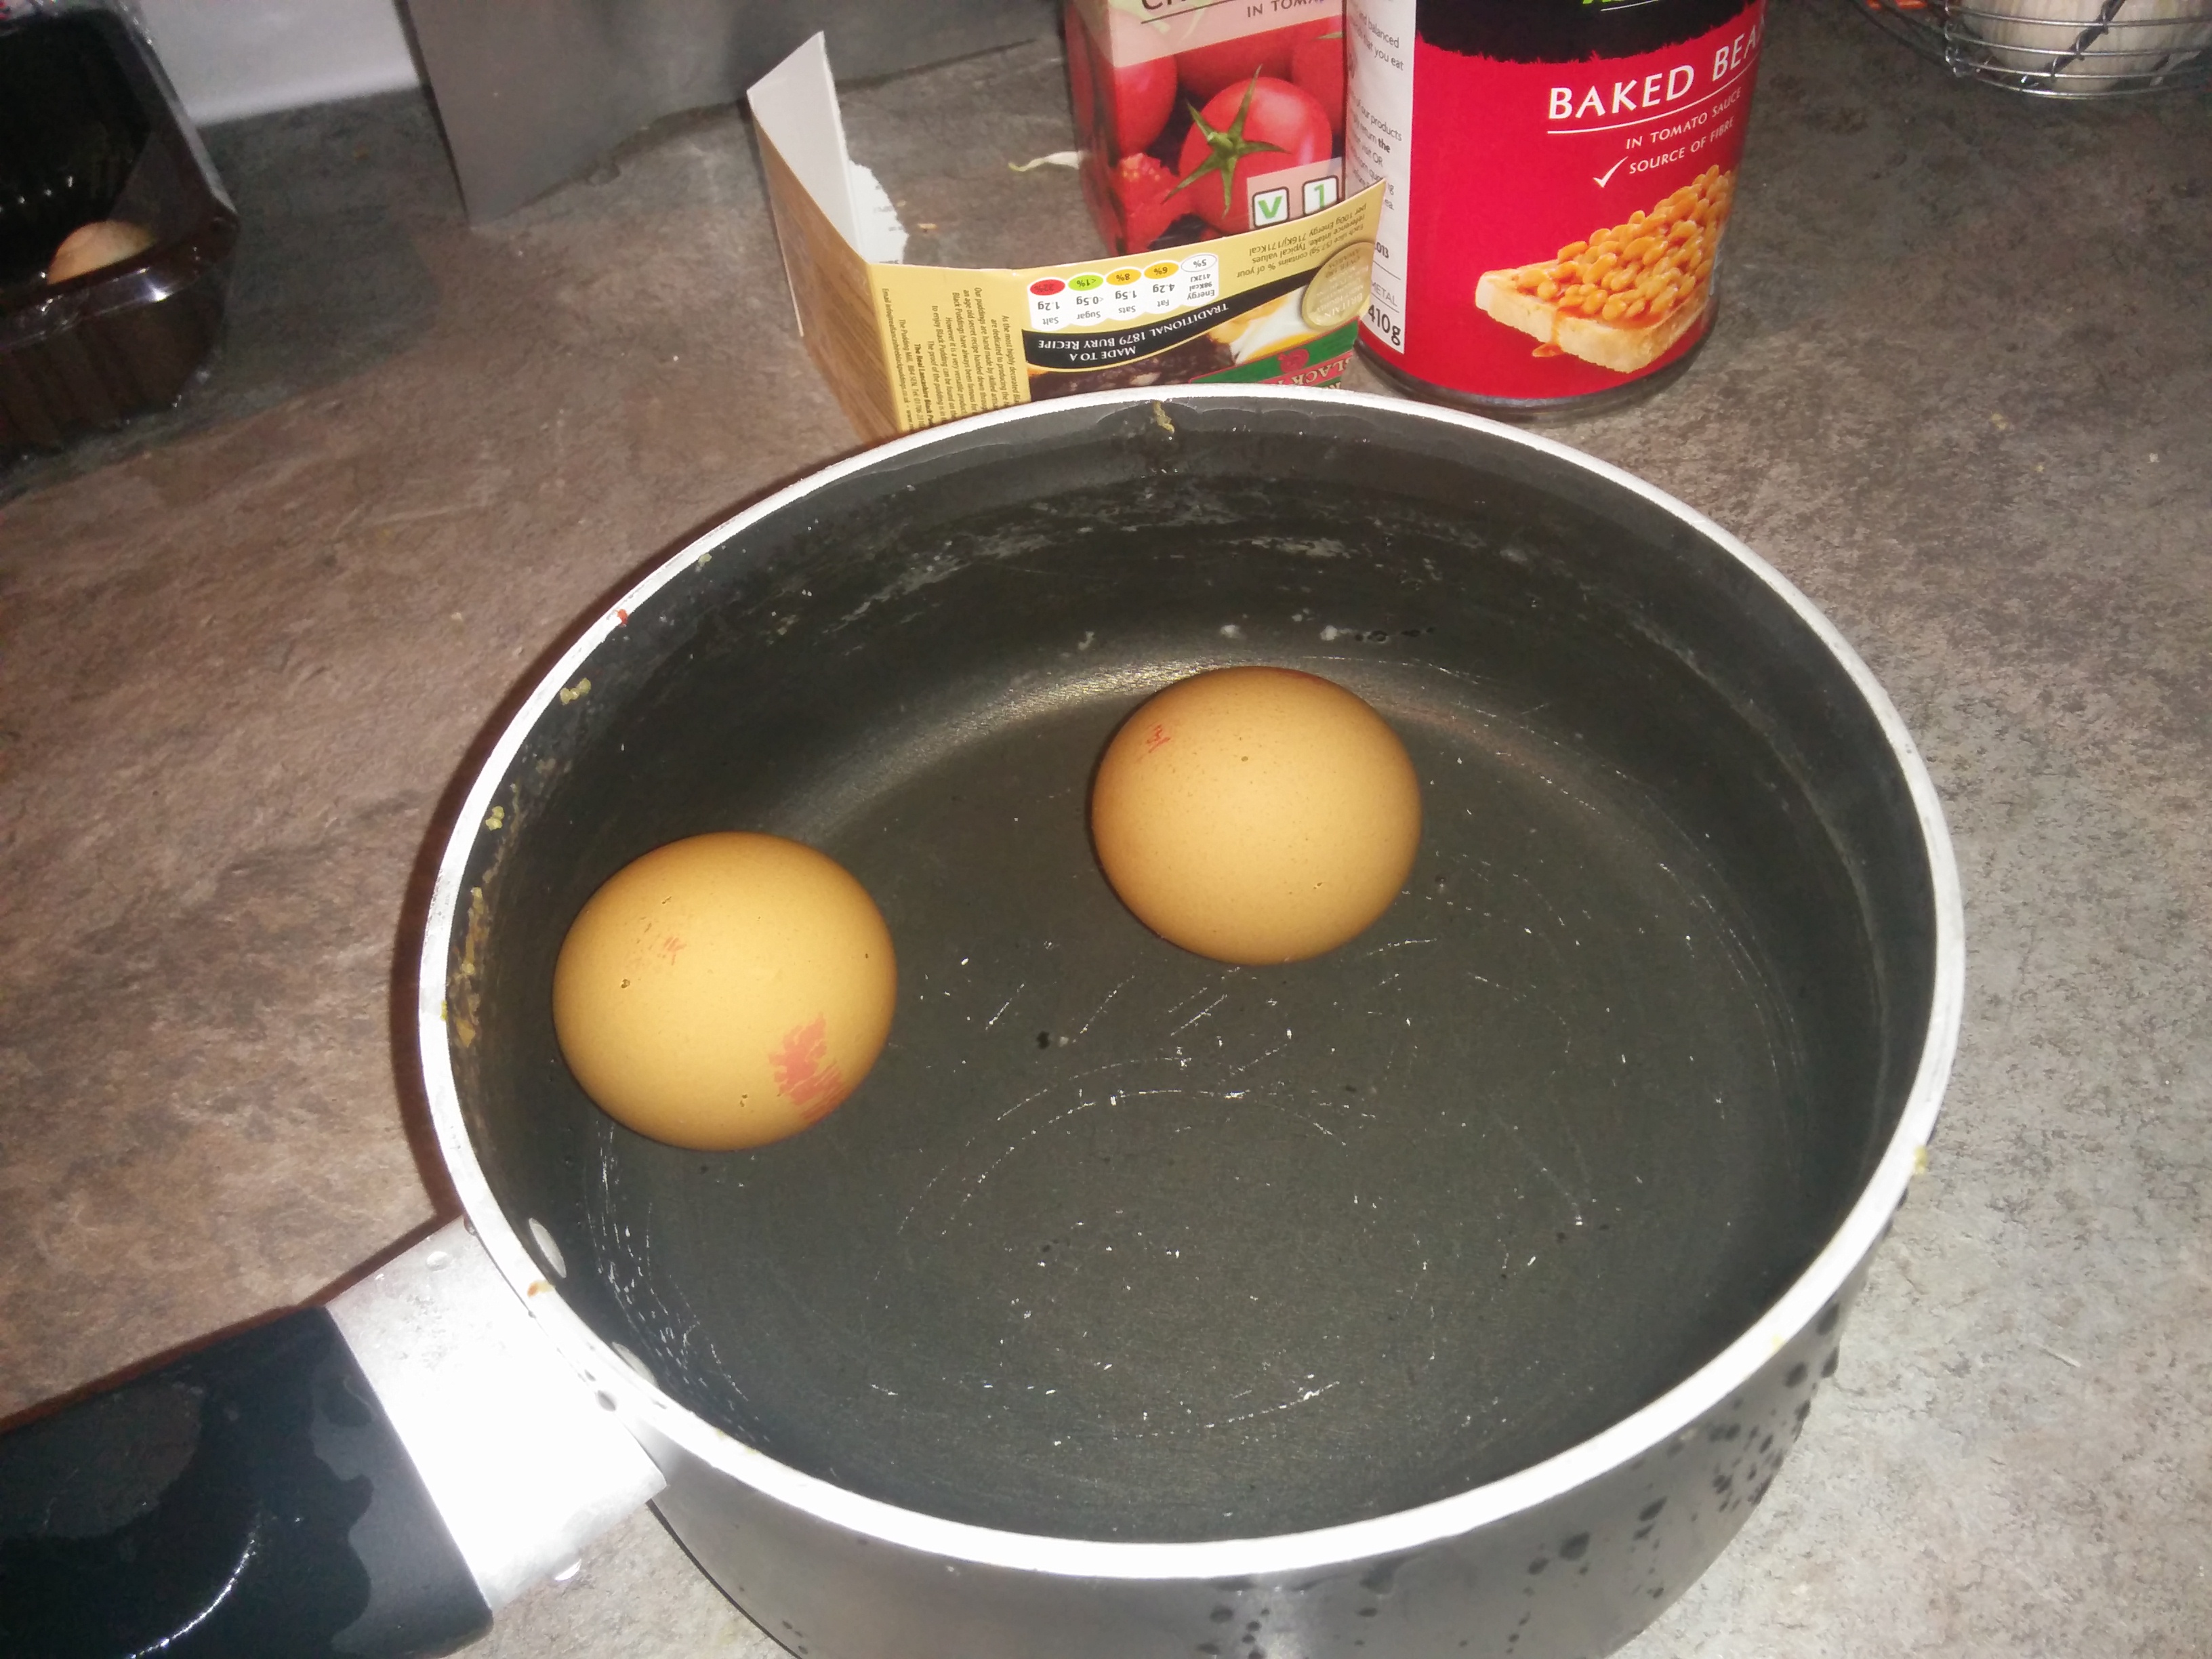
Not sure if your eggs are still okay to cook? Put the whole eggs in a pan of water.
- If they sit flat on the bottom, they are fine
- If they stand up they are on the turn – use them asap.
- If they float they are rotten – don’t eat them!
Step 2 – Put them in the pouch
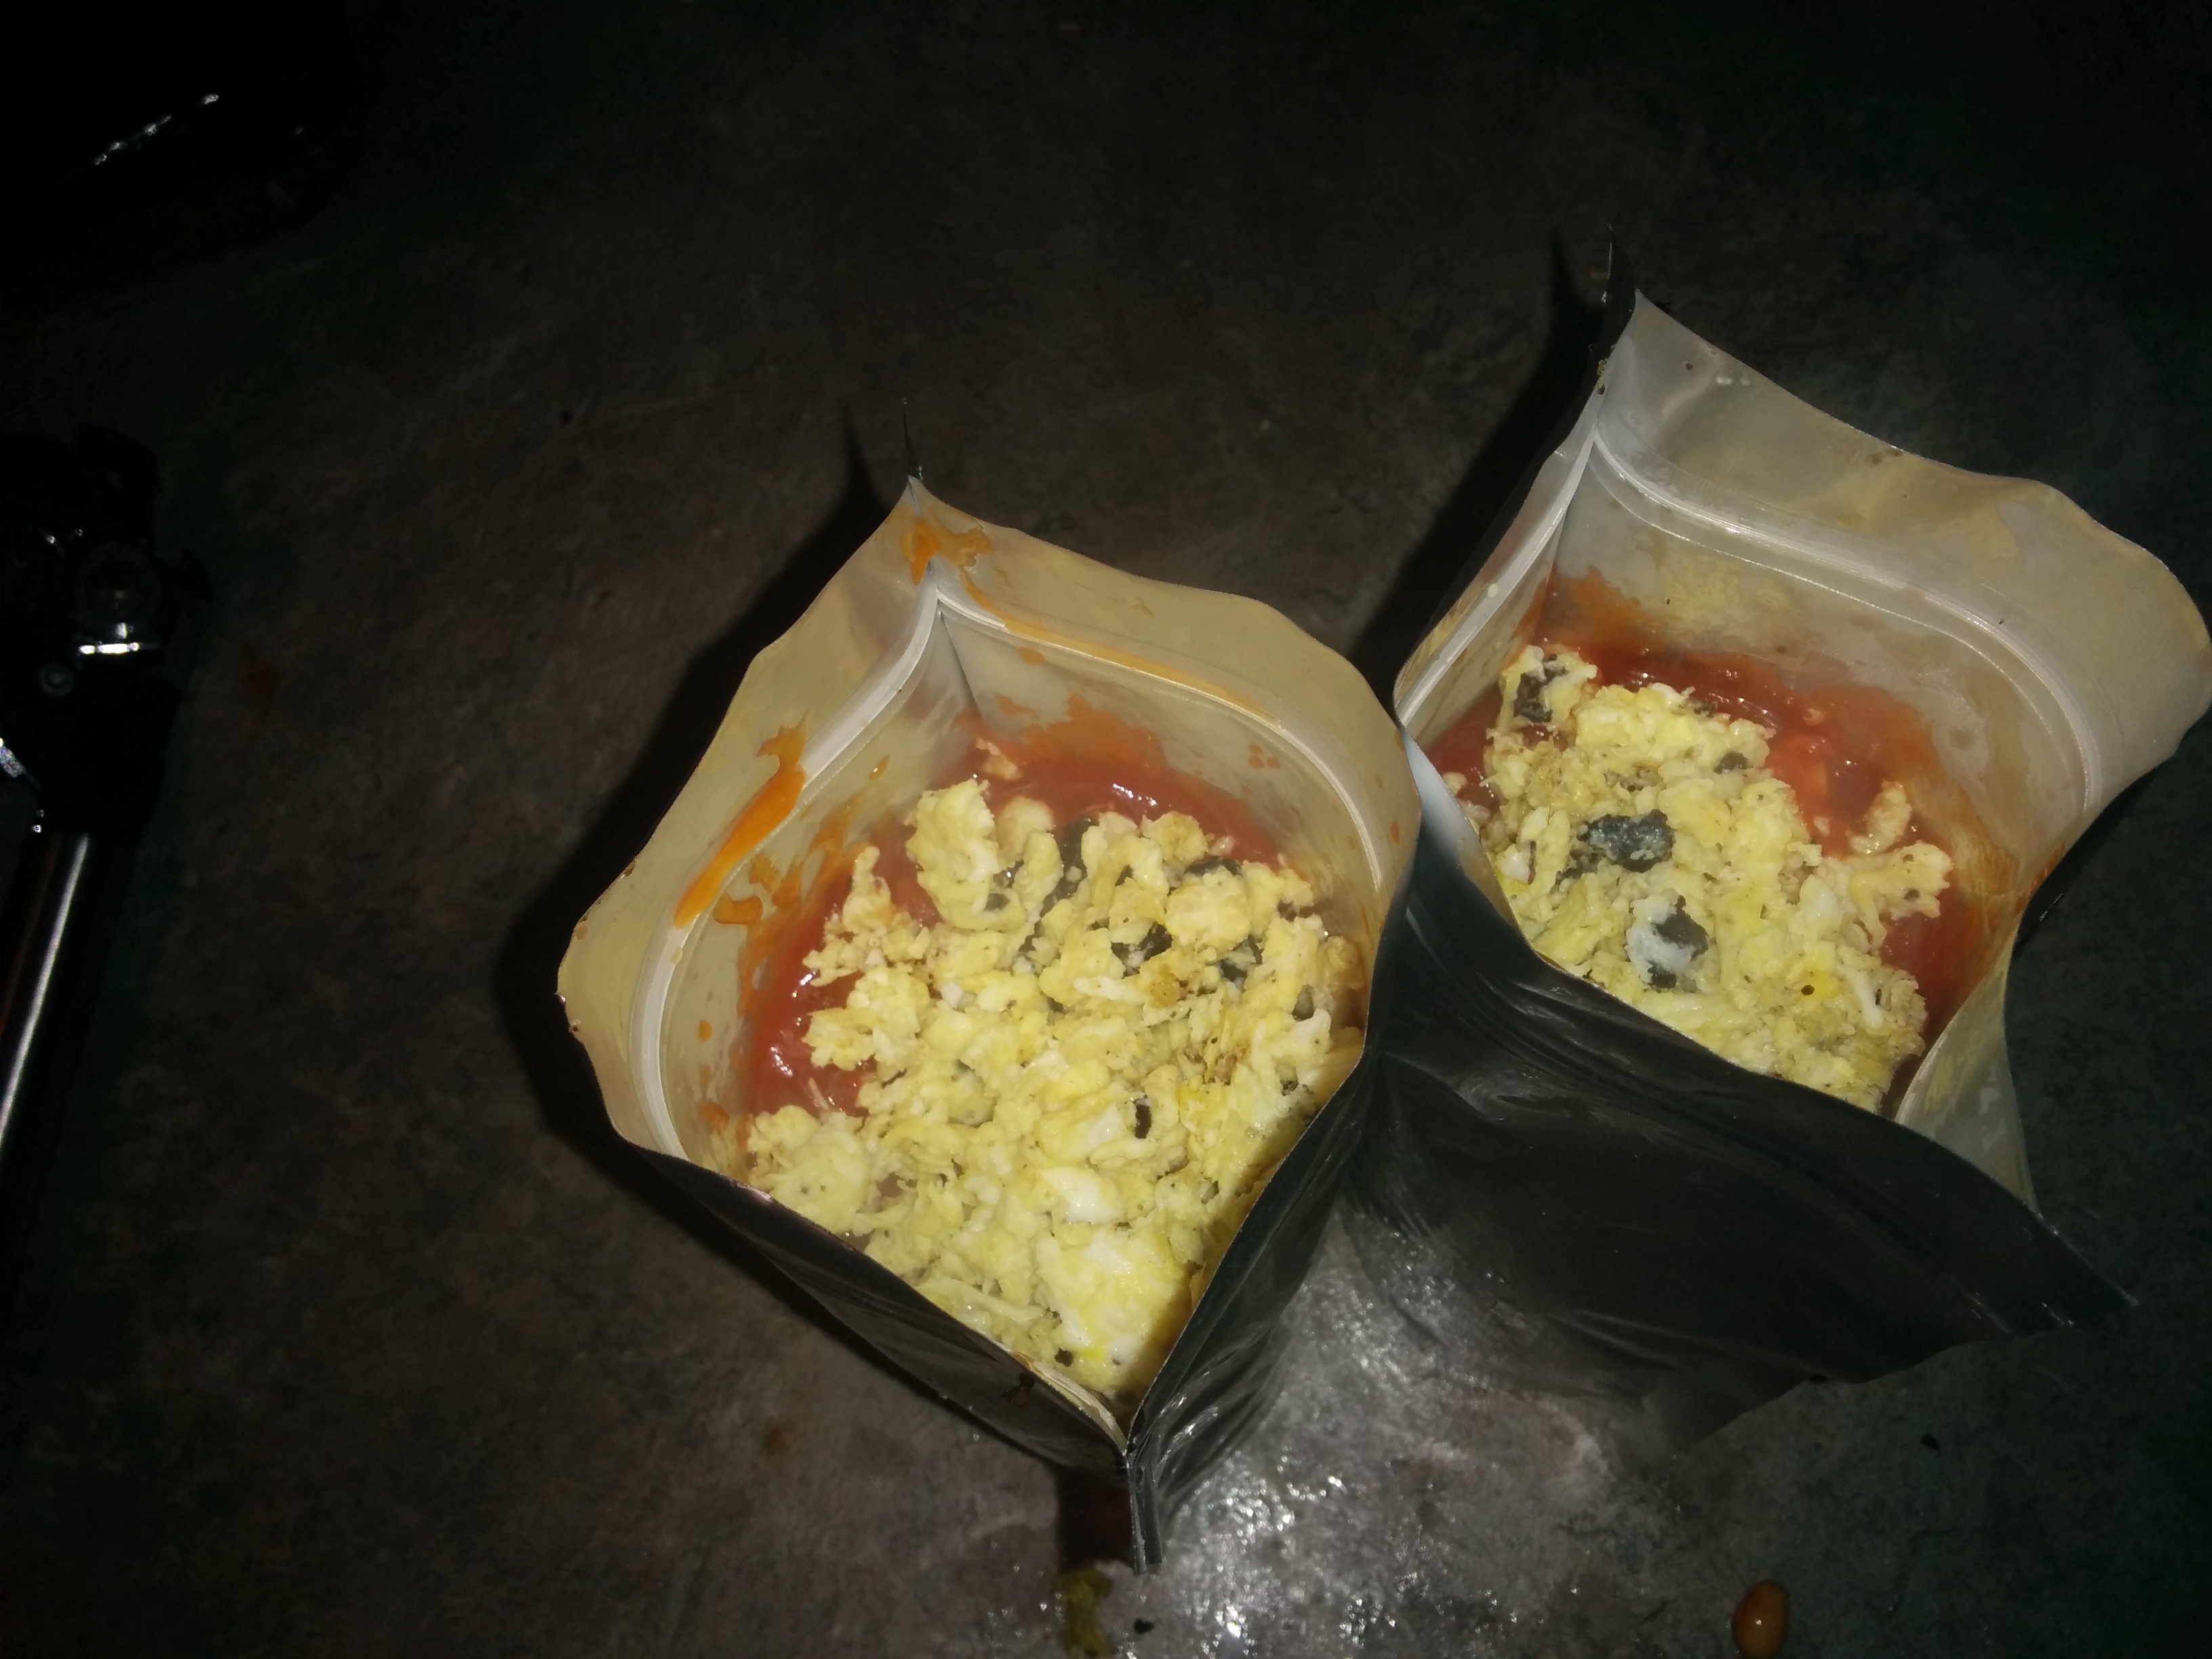
Add your meat, eggs, beans and tomatoes to the pouch and close the zip lock.
Wipe off any excess tomato juice or oil that inside the lip of the pouch after you have closed it.
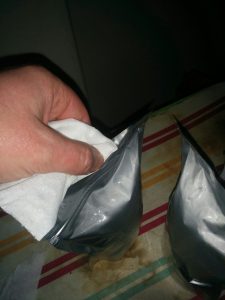
Step 3 – Iron shut the pouch
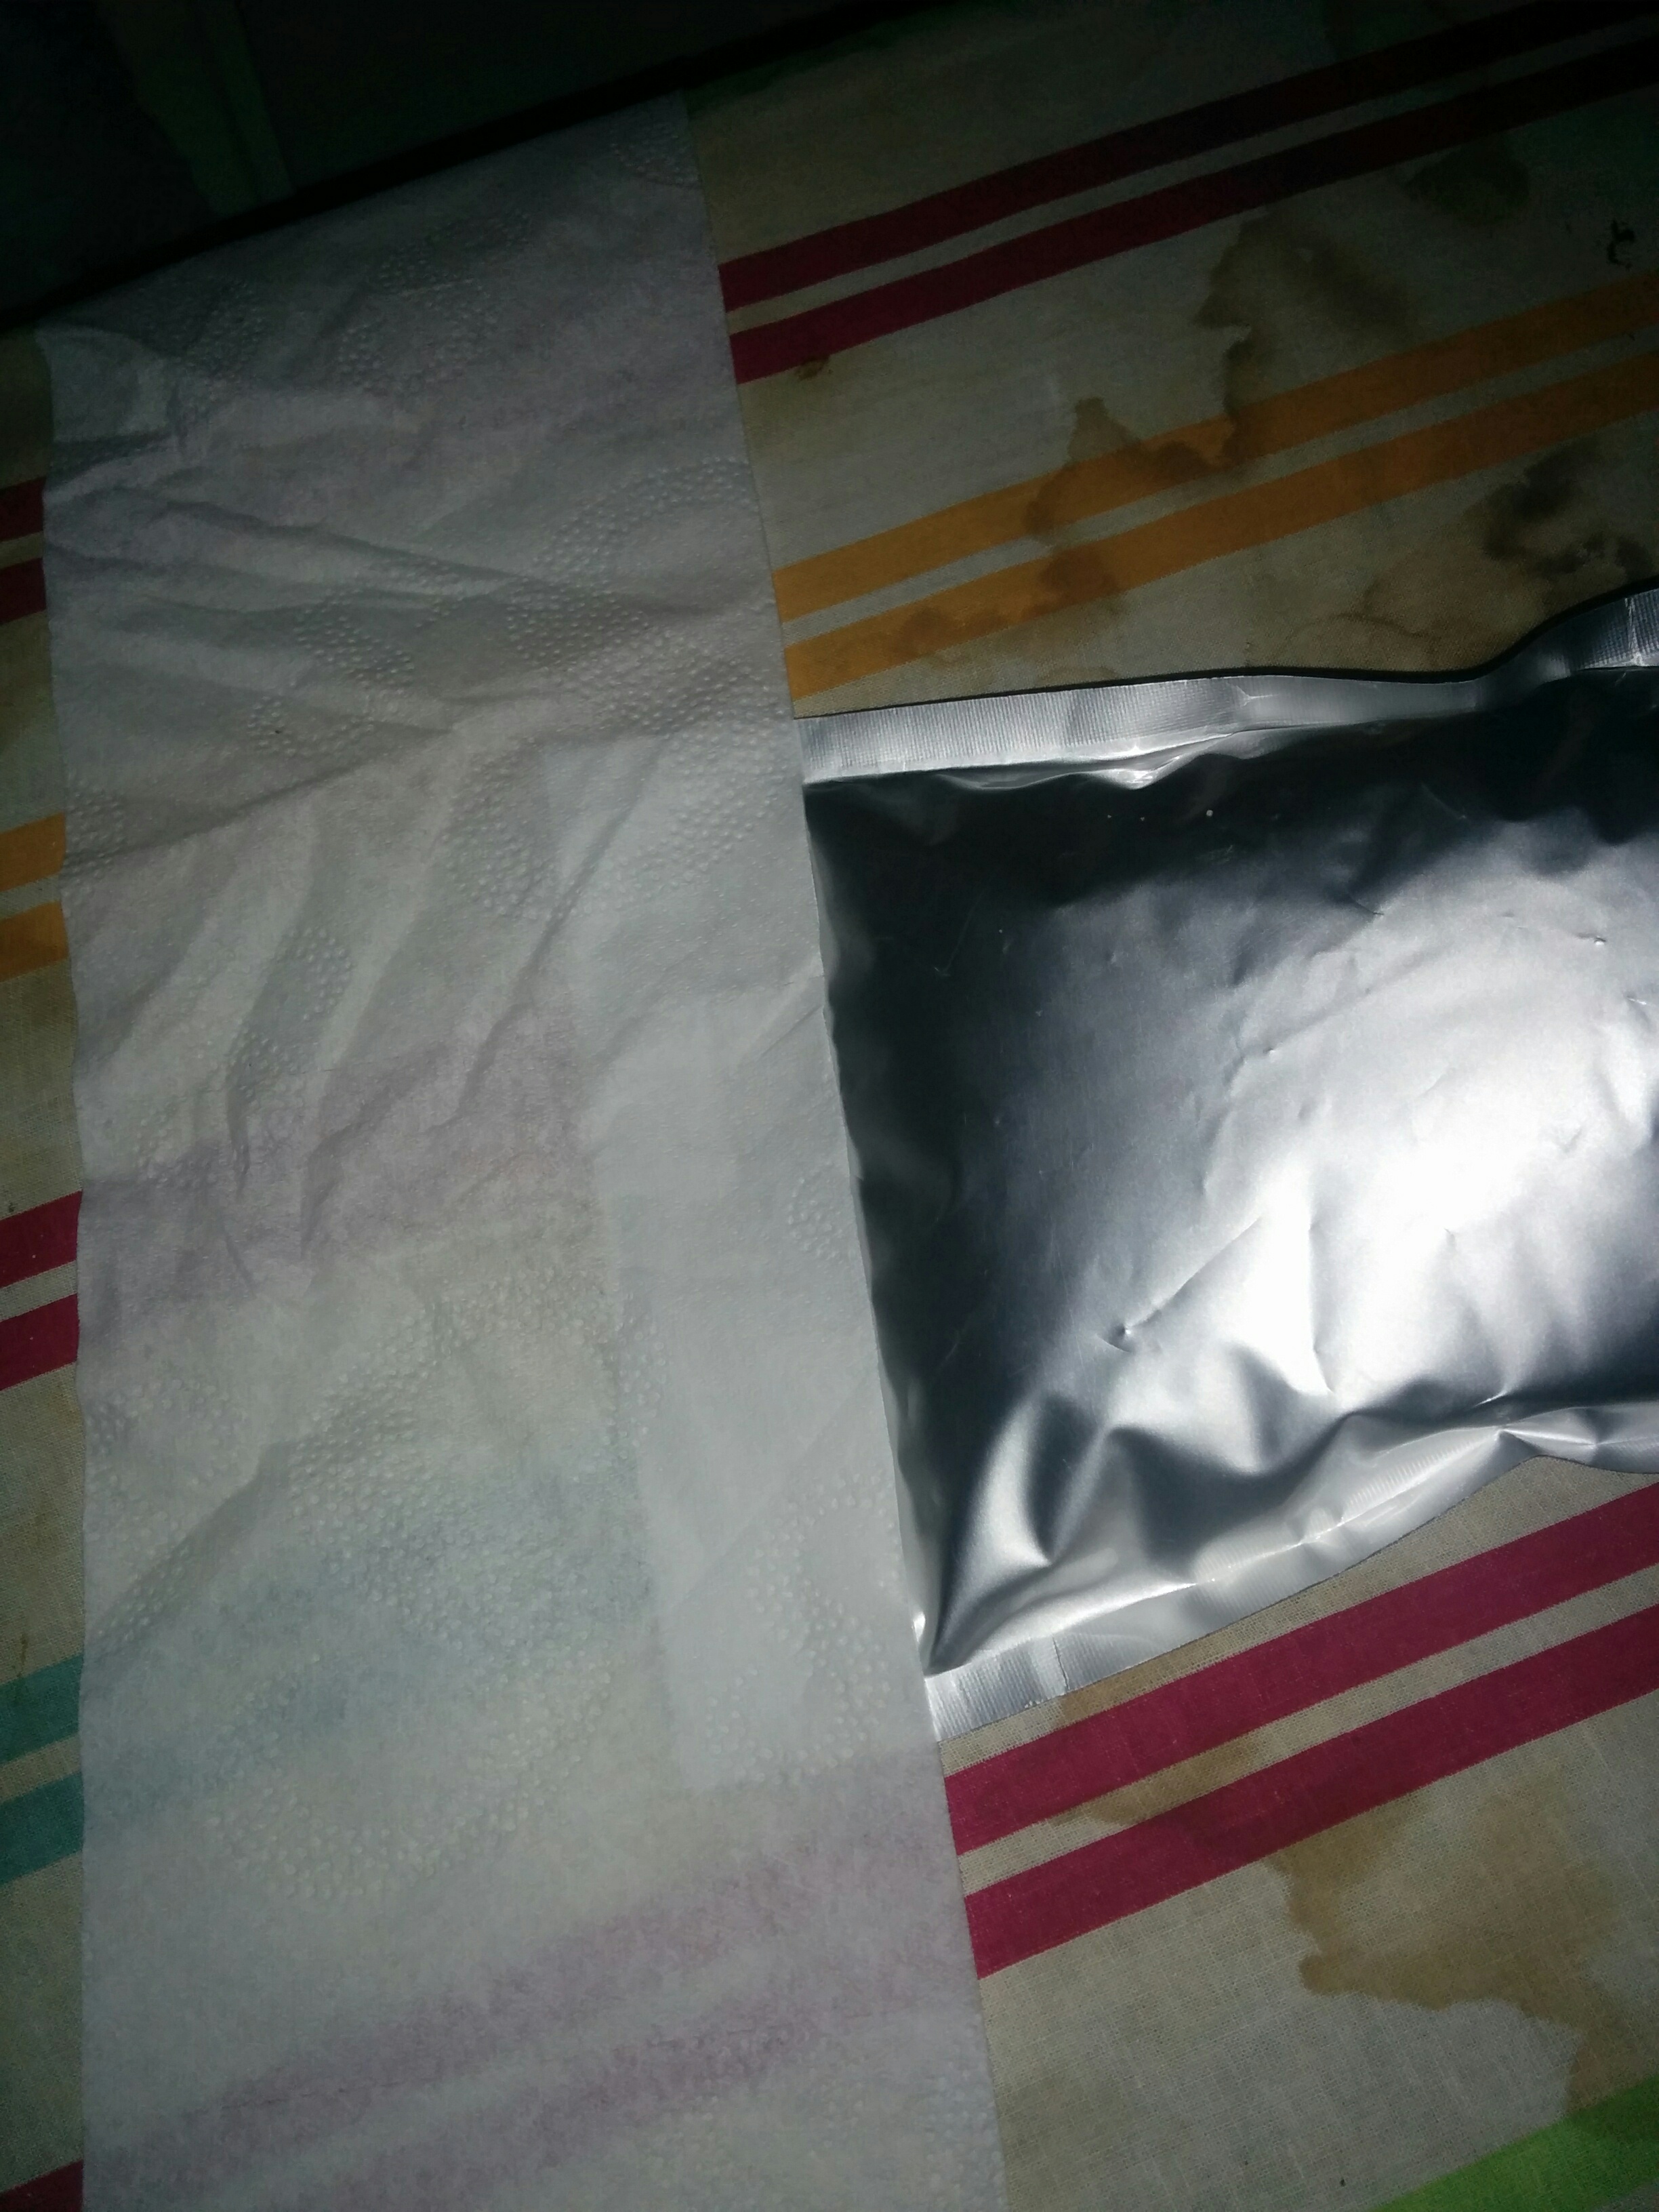
- In order to stop your breakfast exploding in your rucksack, you need to iron shut the top.
- If you have a hot iron then it is a good idea to put a piece of tissue over the top before you iron it to stop it from melting the plastic to your iron.
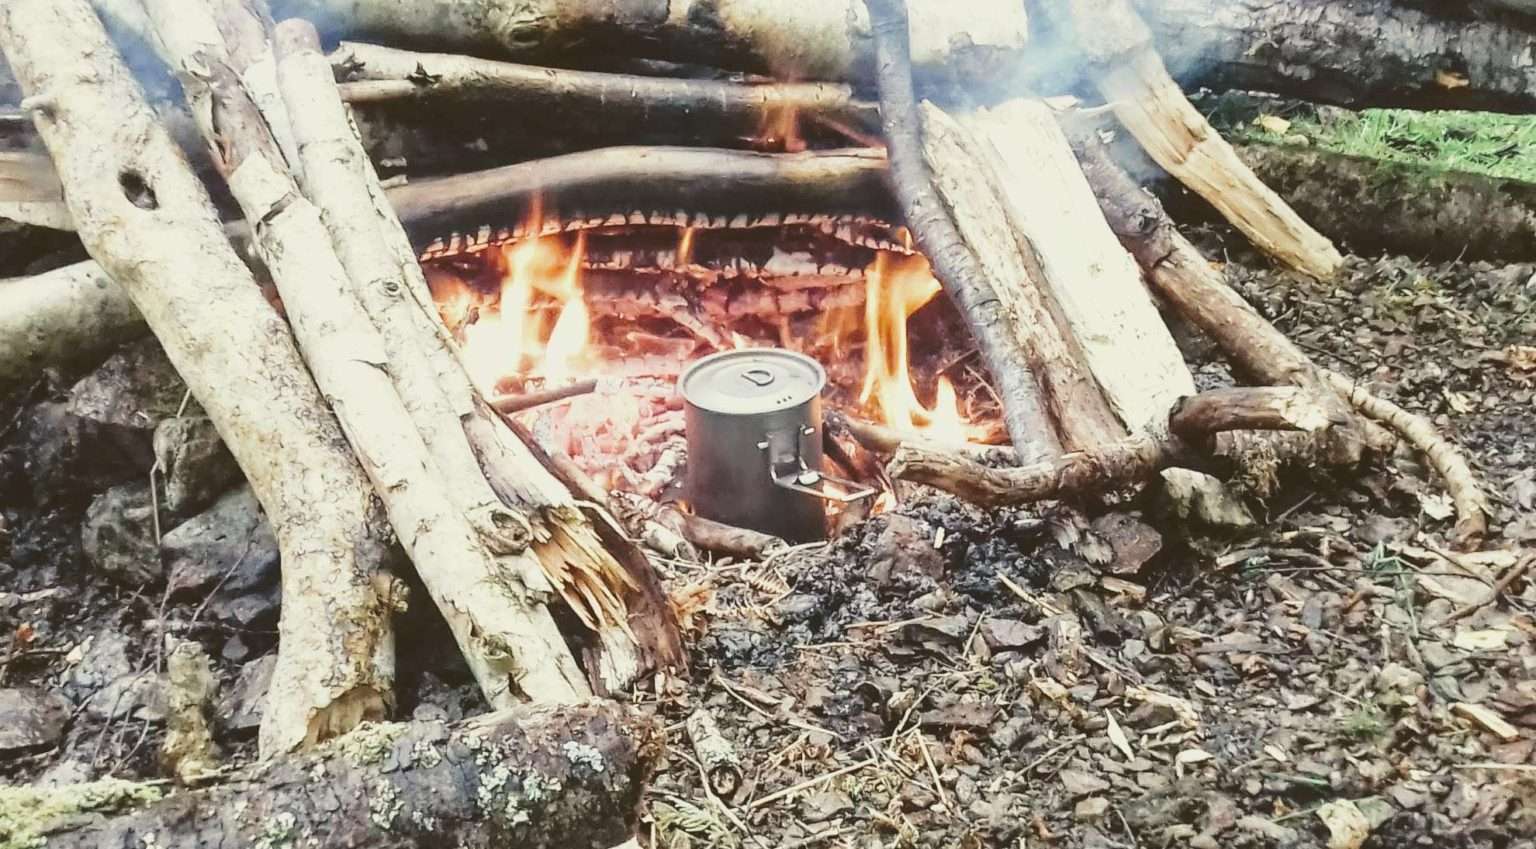
How to cook in the Mylar bag
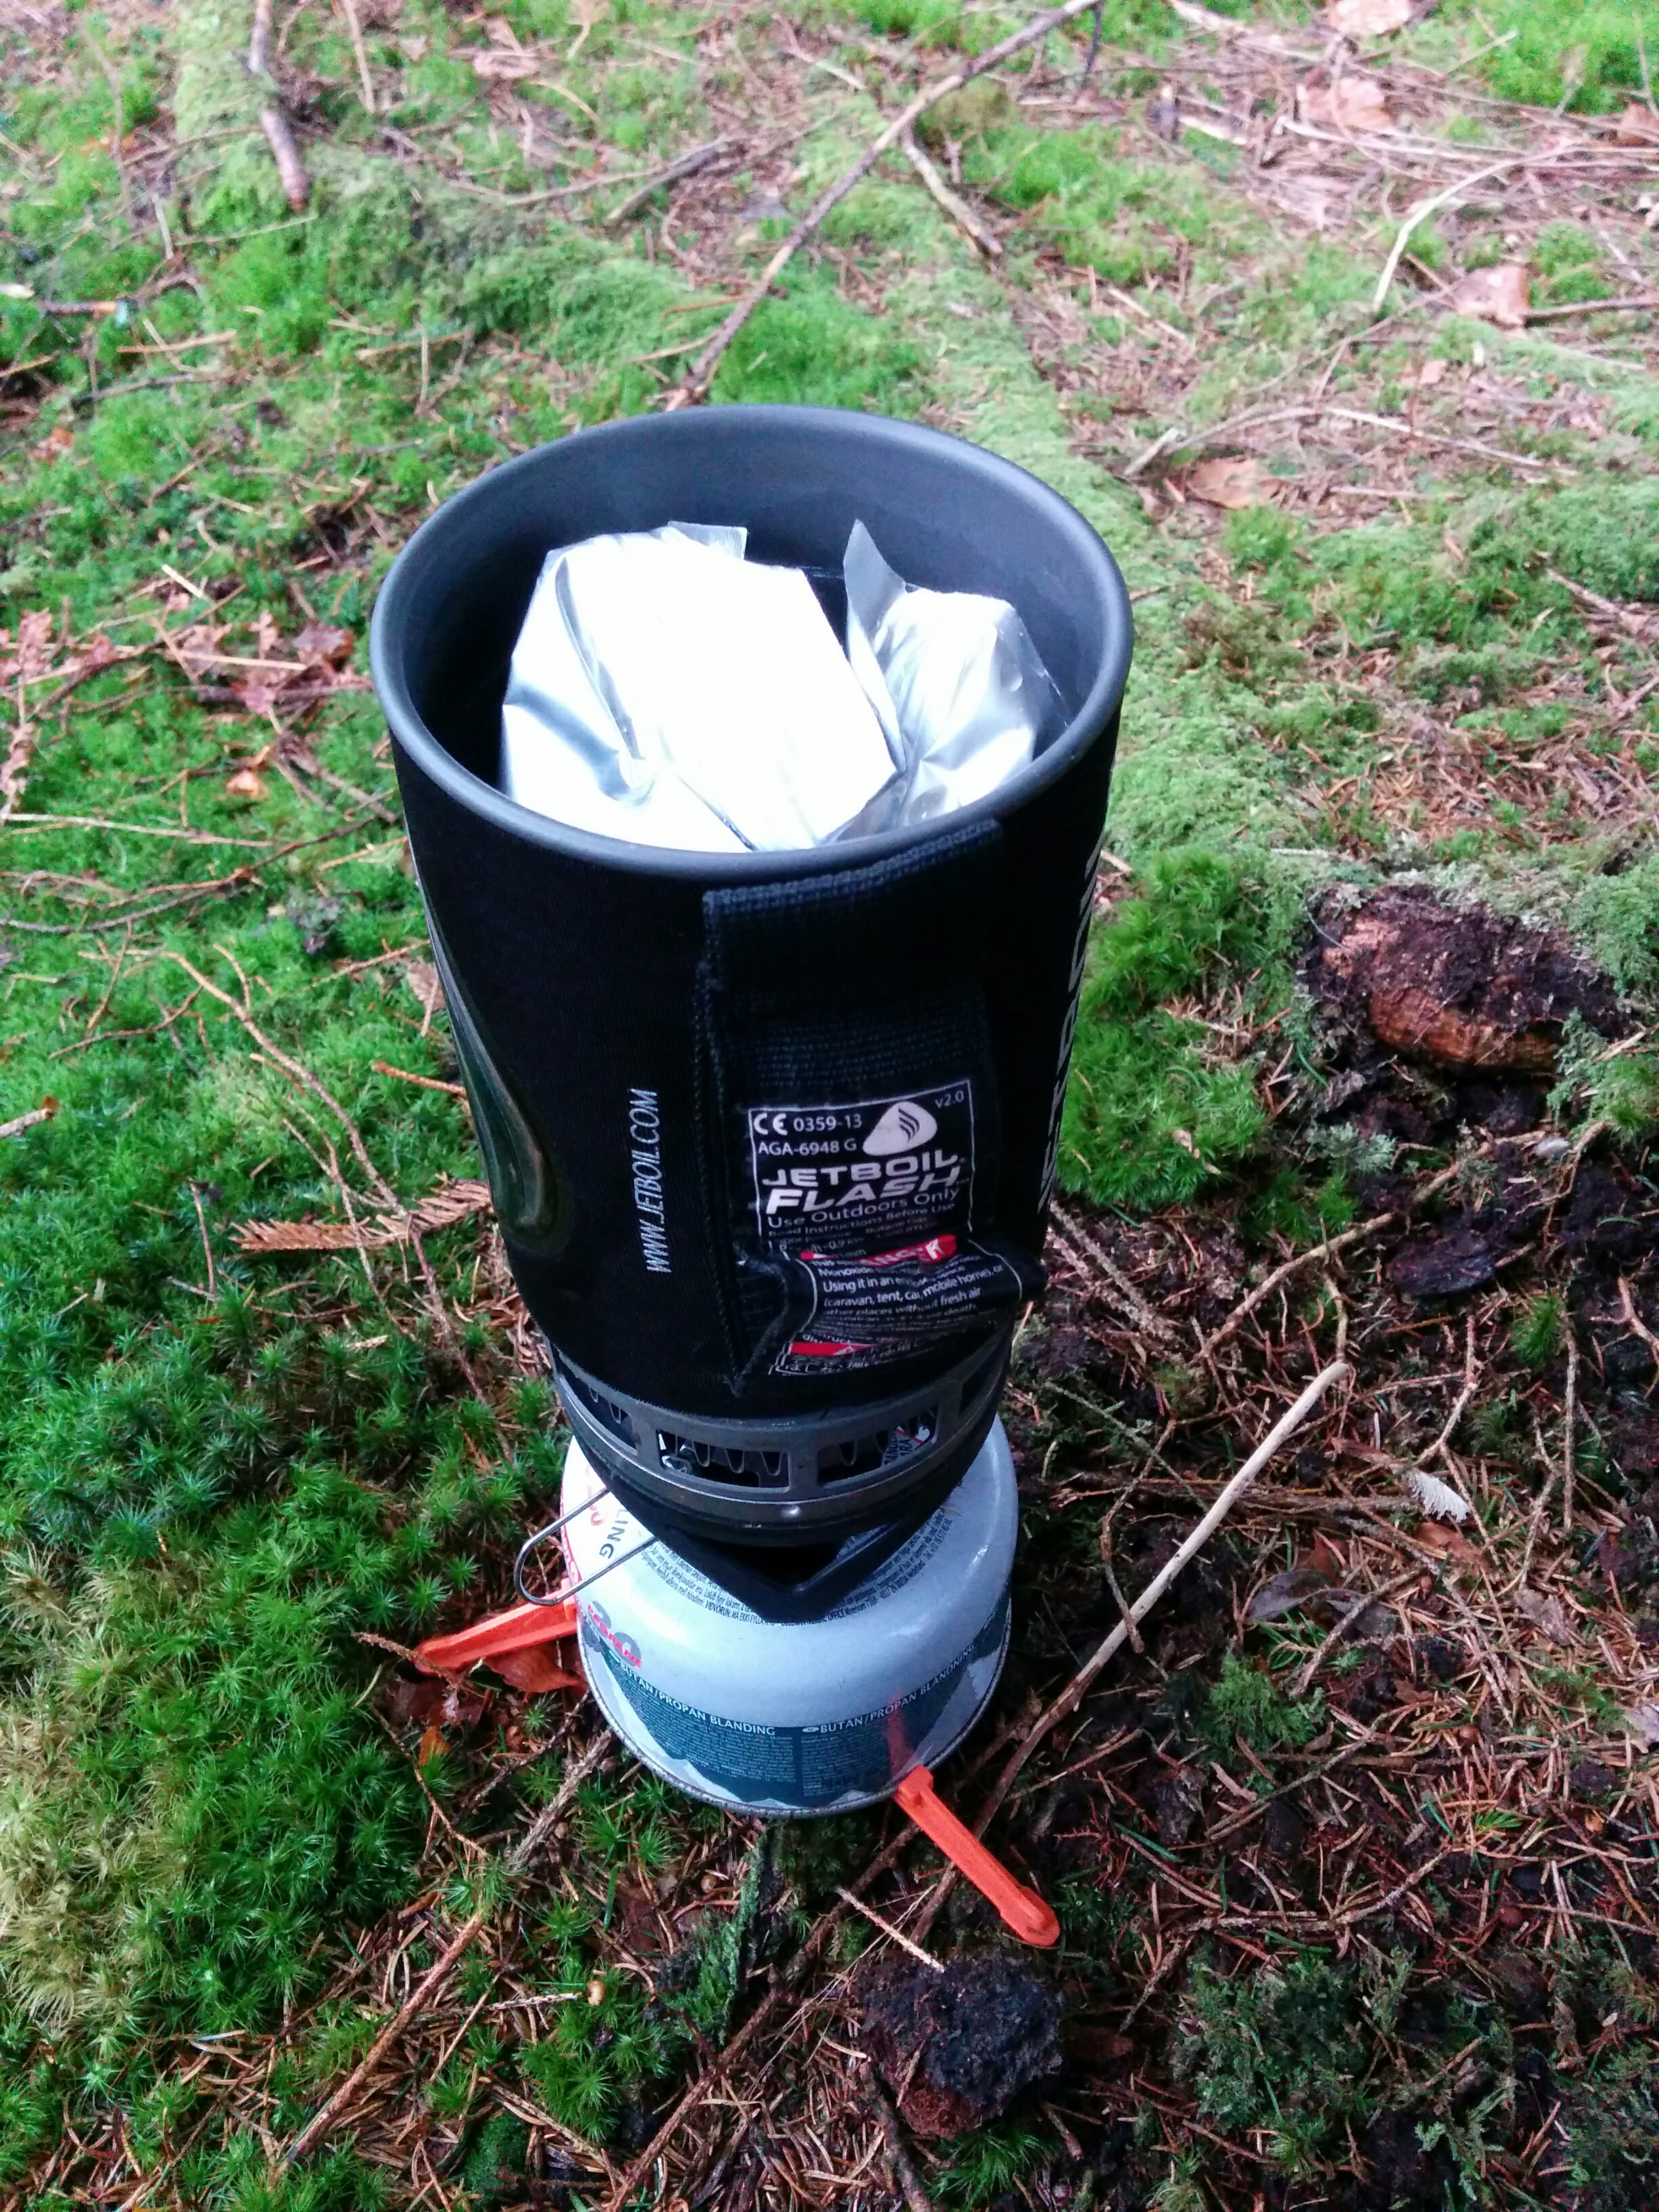
Okay so you have made it to day 2 of your camping expedition and now you need your breakfast!
Well this is where all your hard work pays off!
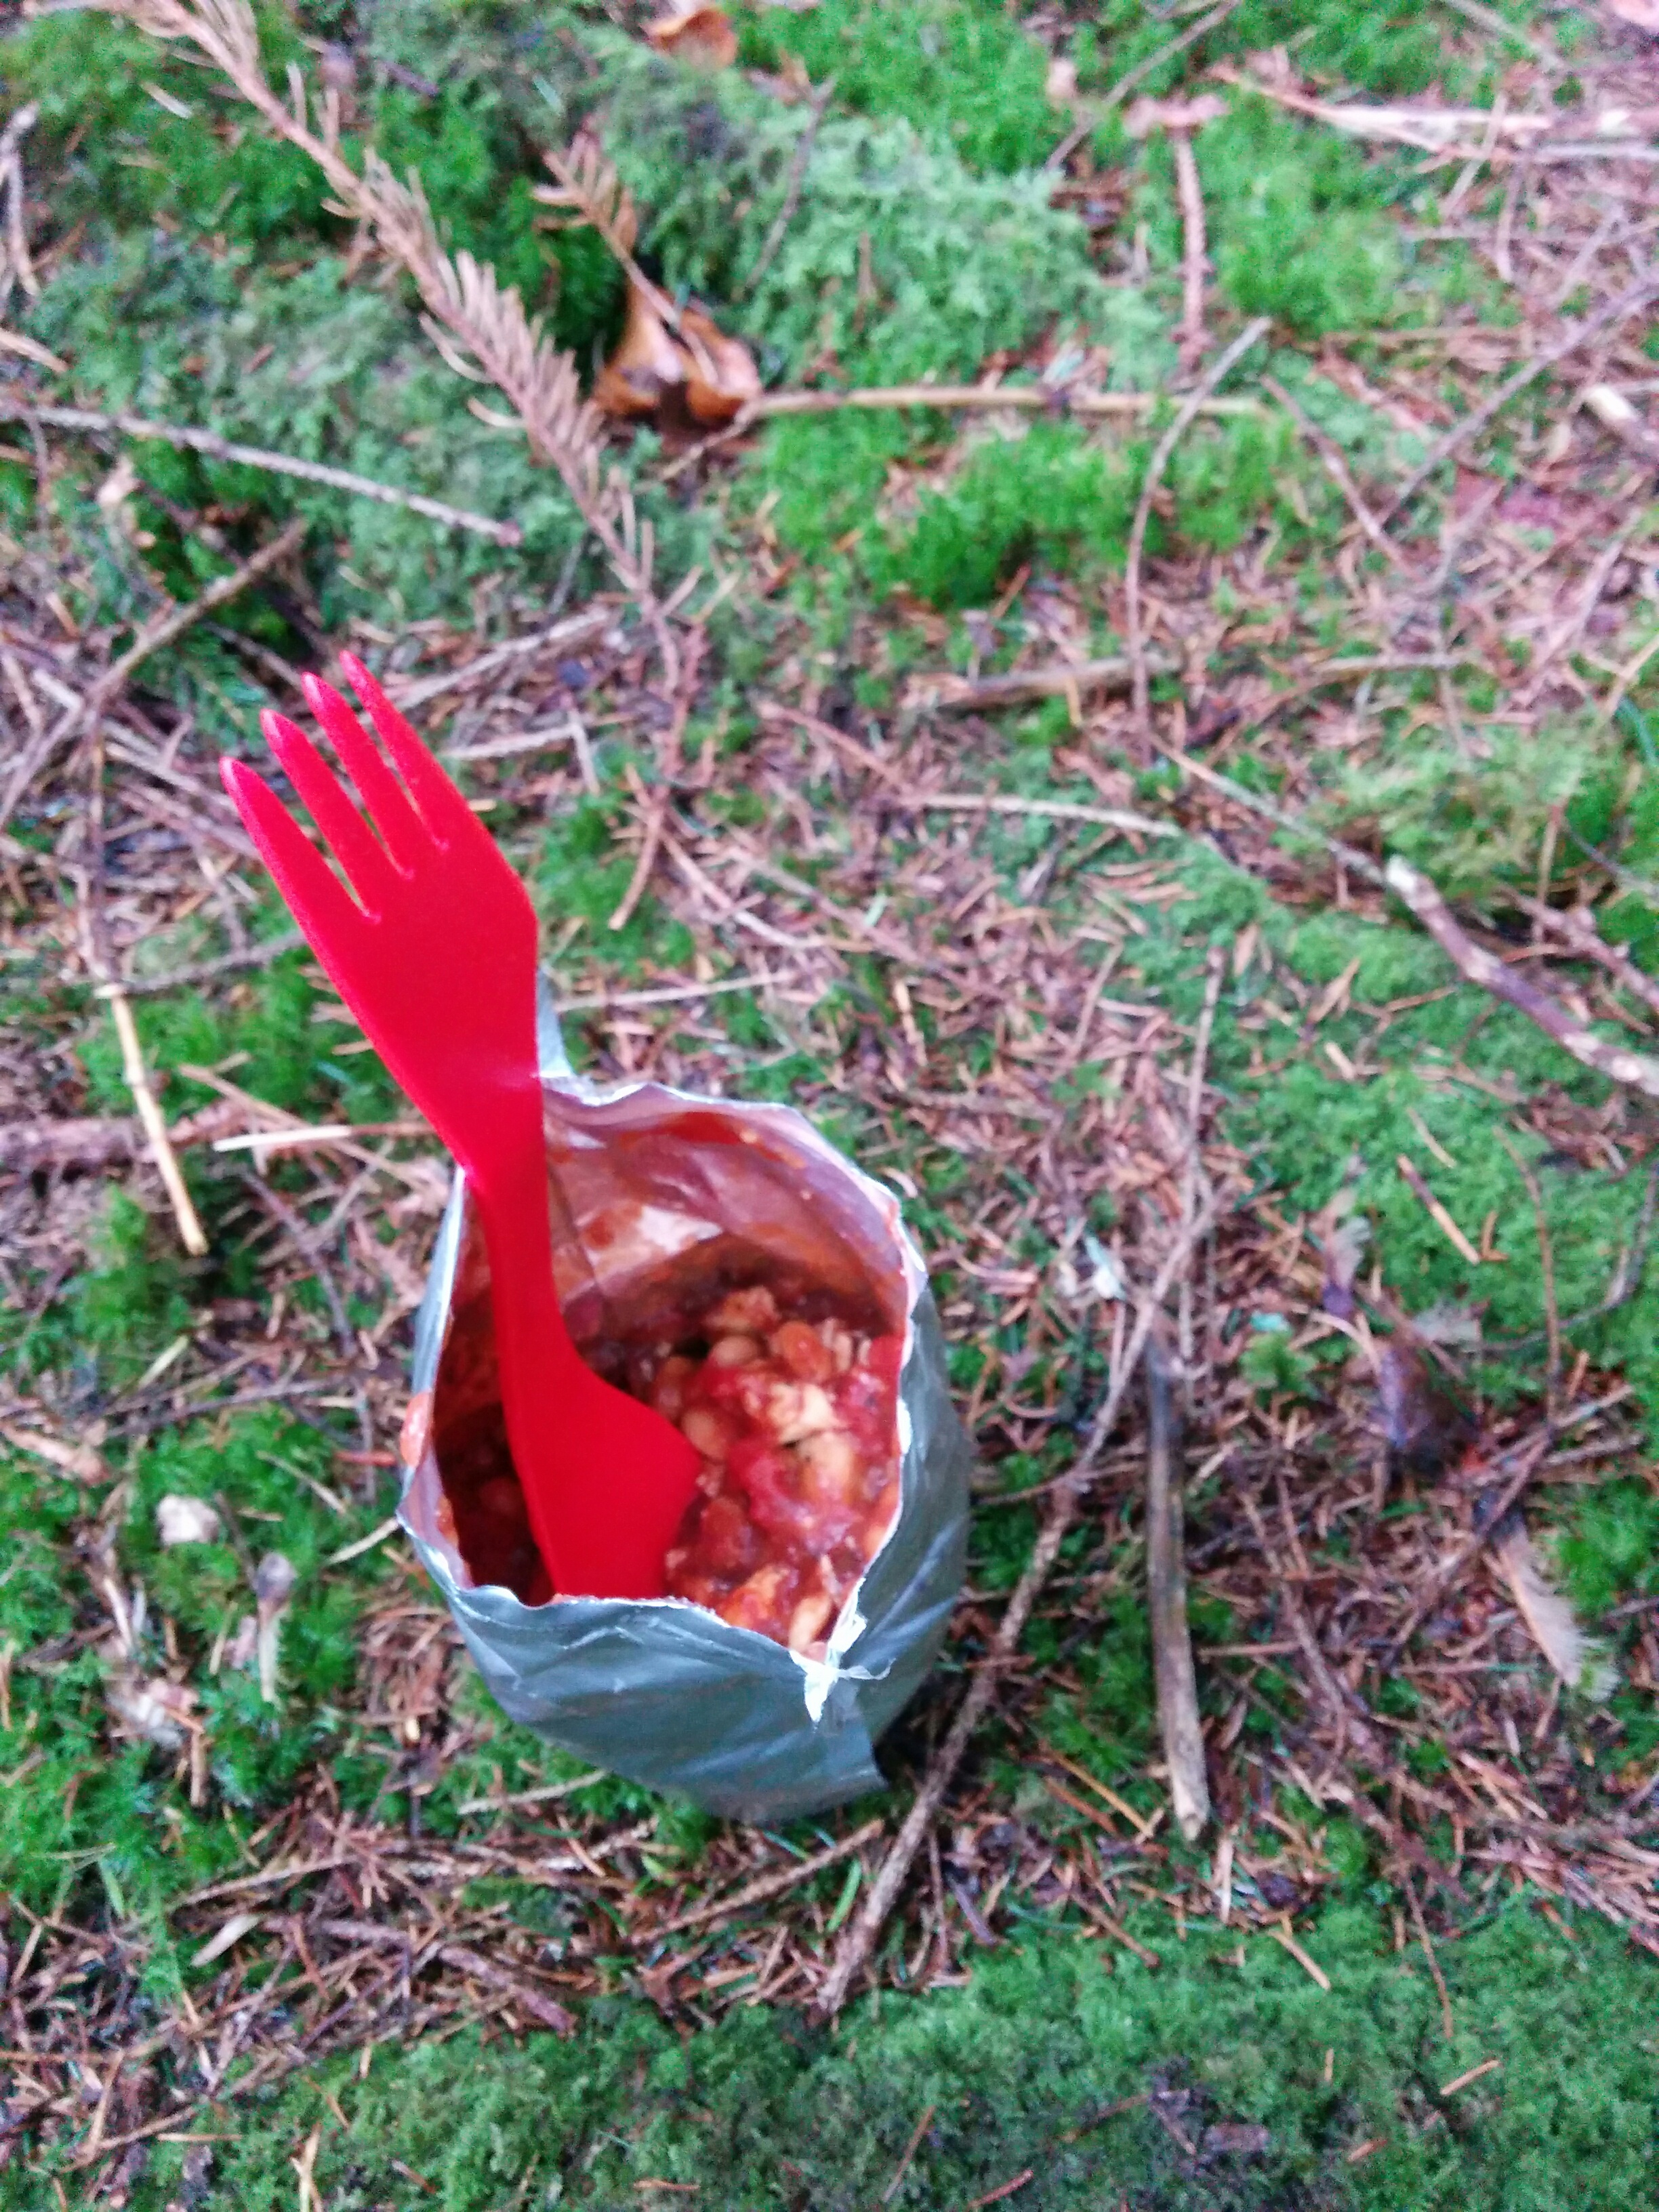
Simply put your unopened breakfast in a pan of water / Jetboil and simmer for about 10 minutes.
After 10 minutes, take it out, cut/tear above the ziplock seal and your breakfast is ready to eat! No mess, no effort, no worries!